MSI Creator Z17 A12UHT-048 LCD Panel Replacement Guide
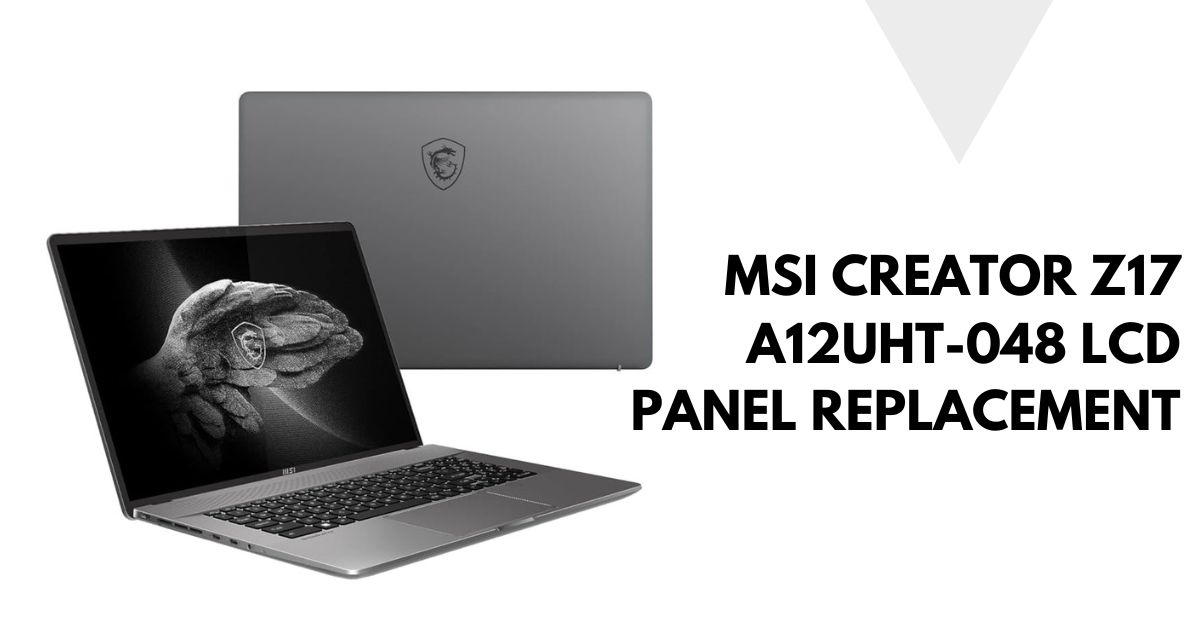
The MSI Creator Z17 A12UHT-048 is a high-performance laptop, well-known for its robust design and superior display quality. However, like any other laptop, its LCD panel may require replacement over time due to accidental damage, dead pixels, or display issues. If you’re facing problems with the screen, replacing the LCD panel can restore your laptop to its optimal visual performance. This guide will walk you through the steps and key considerations for replacing the LCD panel of the MSI Creator Z17 A12UHT-048, ensuring a smooth and successful process.
Table of Contents
ToggleWhy Replace the LCD Panel on the MSI Creator Z17 A12UHT-048?
The MSI Creator Z17 is designed for creative professionals who rely on its high-resolution, vibrant display for editing, design, and multimedia work. A faulty or broken LCD can significantly impact the laptop’s performance and usability. Common reasons for LCD panel replacement include:
- Cracks or physical damage due to drops or impacts.
- Flickering or distorted display caused by hardware issues.
- Dead pixels that affect the screen’s clarity.
- Backlight problems that cause the screen to appear dim or uneven.
Replacing the LCD panel can restore your laptop’s display, ensuring that your work environment is not compromised by visual distractions or poor image quality.
Key Considerations Before Replacing the LCD Panel
Before you dive into the replacement process, there are several important factors to consider to ensure a successful repair:
- Exact Model Match: The MSI Creator Z17 A12UHT-048 uses a specific LCD panel. Ensure you purchase the exact replacement part that is compatible with your laptop model. Using the wrong panel could result in incompatibility or poor performance.
- Professional vs. DIY Replacement: Replacing a laptop screen requires technical skills and precision. If you’re not confident in your ability to do it yourself, it’s best to seek professional help to avoid further damage.
- Warranty Check: If your laptop is still under warranty, check if the warranty covers screen replacements. Sometimes, attempting to replace the LCD yourself may void the warranty, so it’s important to clarify this before starting.
Also read this MSI B550 A PRO
Step-by-Step Guide to Replacing the MSI Creator Z17 A12UHT-048 LCD Panel
If you’ve decided to proceed with a DIY replacement, follow these steps carefully to ensure you replace the LCD panel without damaging other components.
1. Gather Necessary Tools and Parts
Before beginning, make sure you have the right tools and replacement parts:
- Compatible LCD panel for MSI Creator Z17 A12UHT-048
- Phillips screwdriver
- Plastic prying tool
- Anti-static wristband (optional but recommended)
- Adhesive strips (if necessary for reassembly)
Having these tools ready will make the process smoother and prevent delays.
2. Power Off and Disconnect
Safety first. Ensure the laptop is powered off completely and disconnected from any power source.
- Shut down the laptop by holding the power button.
- Unplug the charger and any connected peripherals (USB devices, etc.).
Once done, you should also remove the battery if your laptop allows for easy removal.
3. Remove the Bezel
The bezel is the plastic frame around your laptop’s screen. Use the plastic prying tool to gently remove it.
- Start by inserting the prying tool between the screen and the bezel.
- Slowly work your way around the edges, loosening the clips that hold the bezel in place.
- Be gentle to avoid breaking the plastic clips.
Once the bezel is removed, set it aside carefully.
4. Disconnect the Old LCD Panel
With the bezel removed, you’ll see the screws that hold the LCD panel in place.
- Use the Phillips screwdriver to unscrew the panel from its mounts.
- Carefully tilt the screen forward and look for the connector cable that attaches the LCD panel to the motherboard.
- Gently disconnect this cable by pulling it free from the connector.
At this point, the old LCD panel should be fully detached from the laptop.
5. Install the New LCD Panel
Now it’s time to install the new LCD panel.
- Align the new panel with the mount points in the laptop.
- Reconnect the display cable carefully, ensuring it’s fully seated in the connector.
Once connected, proceed to screw the new LCD panel into place using the screws you removed earlier.
6. Test the New Screen
Before reassembling the bezel, it’s crucial to test the new screen to make sure everything is working properly.
- Power on the laptop to see if the new screen is functioning correctly.
- Check for any issues like dead pixels, flickering, or connectivity problems.
If everything looks good, move on to the final step.
7. Reattach the Bezel
Once you’ve confirmed the new LCD panel is working, reattach the bezel.
- Line up the bezel with the edges of the screen and gently press it into place.
- The clips should snap back, securing the bezel around the screen.
- Make sure the bezel is firmly in place without any gaps.
With the bezel reattached, your laptop is now fully reassembled.
Benefits of a New LCD Panel for Your MSI Creator Z17 A12UHT-048
After replacing the LCD panel, you’ll notice several key benefits:
- Improved Display Quality: A new LCD panel ensures sharp, vibrant images, free from dead pixels or backlight issues.
- Enhanced Productivity: A flawless display makes working on design, multimedia, or editing projects more enjoyable and efficient.
- Extended Laptop Lifespan: Replacing the damaged screen can give your MSI Creator Z17 a new lease on life, delaying the need for a full laptop replacement.
Conclusion
Replacing the LCD panel on your MSI Creator Z17 A12UHT-048 can restore the display quality and enhance the overall performance of your laptop. With the right tools and careful steps, you can successfully replace the screen yourself. However, if you’re not confident in your skills, professional help is always an option. A new LCD panel ensures you continue enjoying the stunning display that makes the MSI Creator Z17 such a powerful tool for creative professionals.
